
How to Estimate a Painting Job, Room by Room
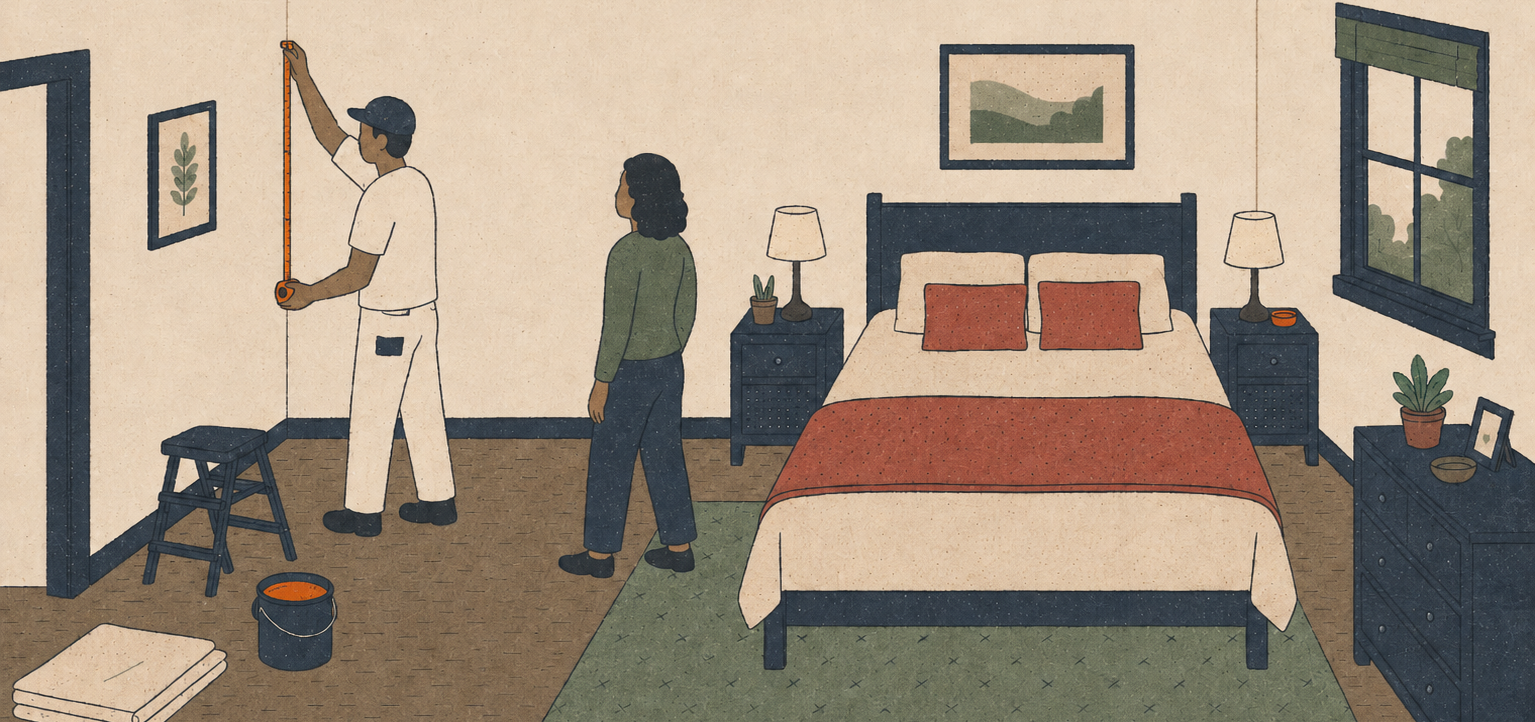
Most painting estimates go wrong in the house, not in the math. A ceiling that never got measured, a closet nobody wrote down, a repair that turned into a day of prep. This guide covers how our co-founder walks a job, what to record in each room, and what to check before the estimate goes out.
Walk the job twice
Our co-founder walks every job twice, and each pass has a different purpose.
Pass one, with the client
Early on, he used the first walk to talk about his crew and his process. Most clients didn't care. "They wanted to tell me about the last painter and what they're nervous about this time," he says. Now he mostly listens. "You have two ears and one mouth. Use them accordingly."
Use this pass to name the rooms, take photos, and note what the client cares about: the stain they want gone, the drop cloths the last painter skipped, the worry about paying a deposit. Those notes shape the estimate as much as the measurements do.
Pass two, alone
The second walk is for measuring and counting: length, width and height, doors, windows, trim, and anything that needs repair. Without a conversation going, it's quick, and you're less likely to skip the hallway.
You have two ears and one mouth. Use them accordingly.
What to record in each room
His first estimates lived in a notebook: "client's name at the top, then the room, rough dimensions, a tally of windows and doors, and every note I could scribble." That list still holds up. For each room, write down:
- A room name like "Primary bedroom" or "Hall bath," so you and the crew mean the same room.
- Length, width and height. Rough is fine. You're estimating, not ordering drywall.
- Doors and windows, as a count, with a note on anything unusual.
- Trim: baseboard, crown, chair rail, casing.
- Extras: radiators, fireplaces, closets, built-ins, railings.
- Repairs and prep: cracks, nail pops, water stains, peeling paint.
- Coats for each surface, especially where the color is changing.
- Photos and notes for anything you'll need to remember later.
The room math
Length, width and height give you the three numbers most interior rooms need:
- Perimeter = 2 × (length + width)
- Wall area = perimeter × height
- Ceiling area = length × width
A 23 by 10 foot room with 9-foot ceilings has a 66-foot perimeter, 594 square feet of wall and 230 square feet of ceiling. The perimeter also prices linear work like baseboard and chair rail.
Try it on your own room
- Perimeter
- 66 ft
- Wall area
- 594 sq ft
- Ceiling area
- 230 sq ft
- Wall paint
- 4 gallons
- Ceiling paint
- 2 gallons
Uses the same coats for walls and ceiling and rounds paint up to whole gallons. Doors and windows aren't subtracted.
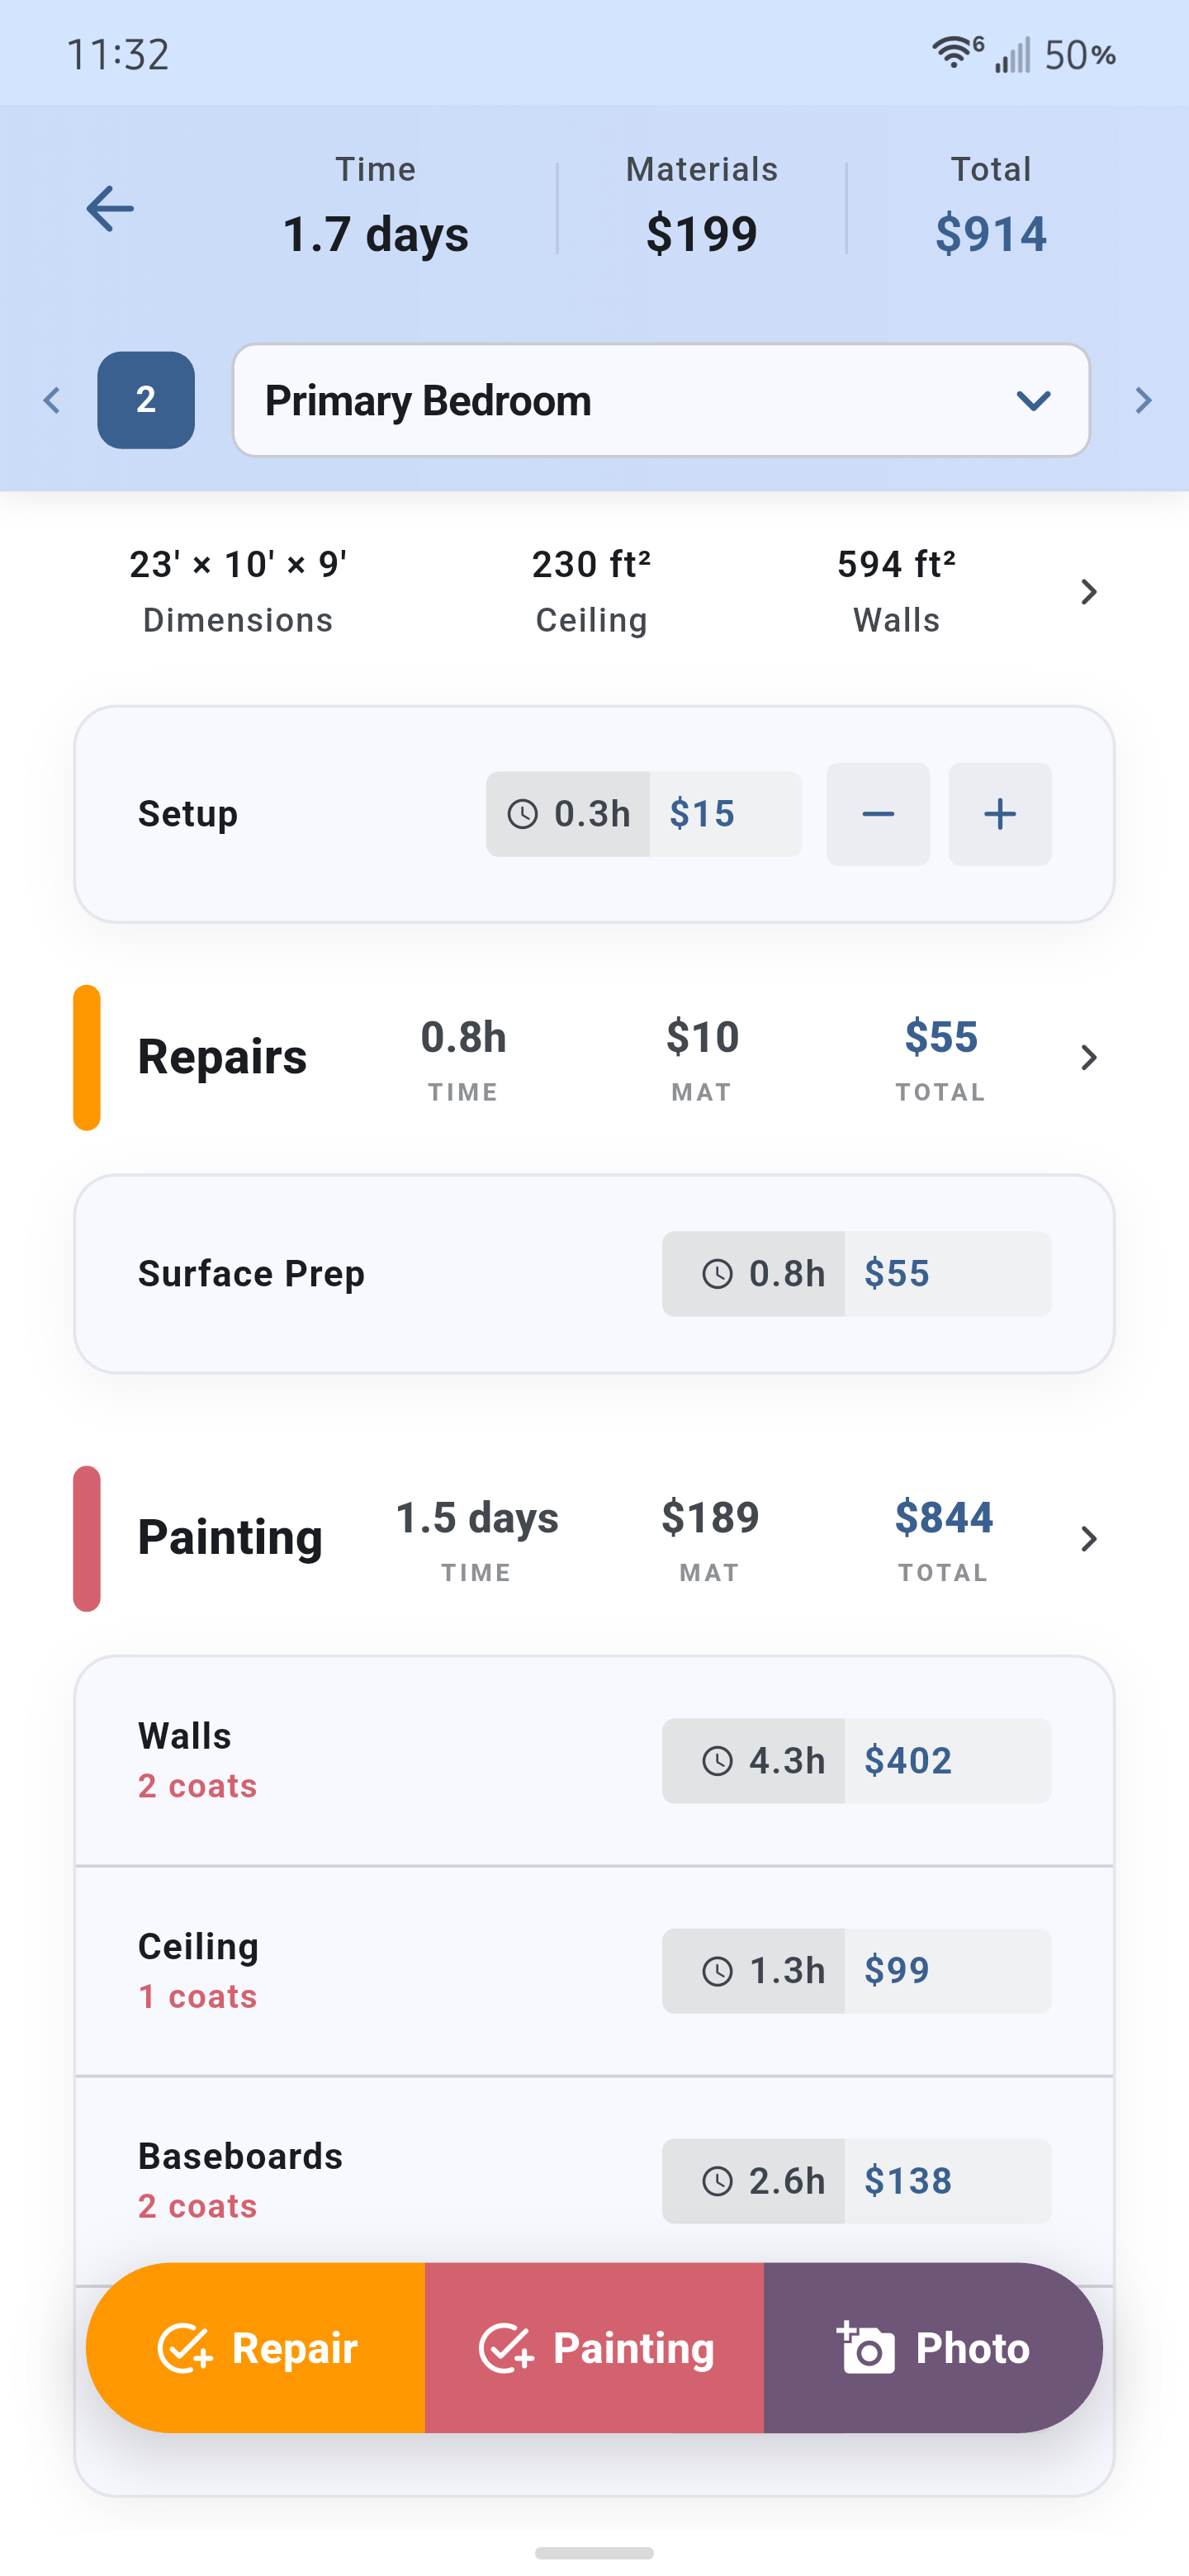
Coats multiply both labor and paint, so record them per surface instead of assuming two everywhere.
Put what you're not doing in writing
Scope that isn't on the estimate tends to become scope you do for free. Three habits help.
List what you're skipping. If the basement bath is about to be remodeled, say so on the estimate instead of leaving it off. A line marked "Not Included" tells the client you saw it and tells the crew to leave it alone. As our co-founder puts it, "That's how you keep the crew from painting the powder room."
Price the favors. He's candid about this one: "when I'm being nice to a client, I give away work. 'Sure, we'll touch up that closet.'" A quick time and materials line keeps the extra visible to the client, even if you discount it.
Spell out the prep. Moving furniture, masking, patching, sanding and priming all take real time. "Spelling out the prep is what separates a professional estimate from the cheaper bid," and it shows the client what they're paying for.
Check the estimate before you send it
One of the most common estimating mistakes isn't a bad rate. It's a missing number: a room with no ceiling height, or a wall that never got measured. Our co-founder has "seen other programs show a ceiling as 'included' with zero time calculated."
Before you send, check that:
- every room has all of its dimensions
- every surface has the right number of coats
- setup, prep and repairs are on their own lines
- anything you're skipping is marked not included
- paint quantities are rounded up to whole gallons
- the client's name, email and address are filled in
Send it while they still remember you
The best time to send an estimate is while the client still remembers the walkthrough. When you price on a phone, "the estimate gets finished in the house, not at the kitchen table at 11 p.m."
If you do write estimates at night, wait to send them. "Nobody wants one landing in a client's inbox at 11:40 p.m." If you email from Gmail, use its built-in Schedule send (the arrow next to Send) to hold it until morning. That's a Gmail trick, not an EstimateSync feature.
How EstimateSync fits this walkthrough
EstimateSync is laid out for this way of estimating. Add rooms by name as you walk. Enter rough dimensions, or measure with the camera on supported Android phones, and the app works out wall area, ceiling area and perimeter. Rooms missing a dimension get a red warning icon. Not Included items stay on the estimate and the crew's work order without a price, and paint can round up to whole gallons.